A Step-by-Step Guide For Window AC Installation in North Bay
Quick Summary: Window air conditioners are a fast, affordable way to cool down during North Bay’s hot months—but only if they’re installed correctly. This guide walks you through each step of the process, from choosing the right window to sealing the unit and troubleshooting issues. Whether you’re a first-time installer or need a refresher, here’s everything you need to know for a smooth, safe, and efficient window AC installation.
Looking for a fast and affordable way to cool a room during North Bay’s hottest months? A window air conditioner might be the perfect solution. Whether you rent or own, window AC units offer convenience and flexibility without the need for ductwork or full-system installation.
That said, the key to getting the most from your window unit is installing it the right way. In this guide, we’ll walk you through each step of the process, explain what tools you’ll need, and point out where mistakes most often happen—so you can stay cool without any stress.
Is a Window AC the Right Fit for Your Space?
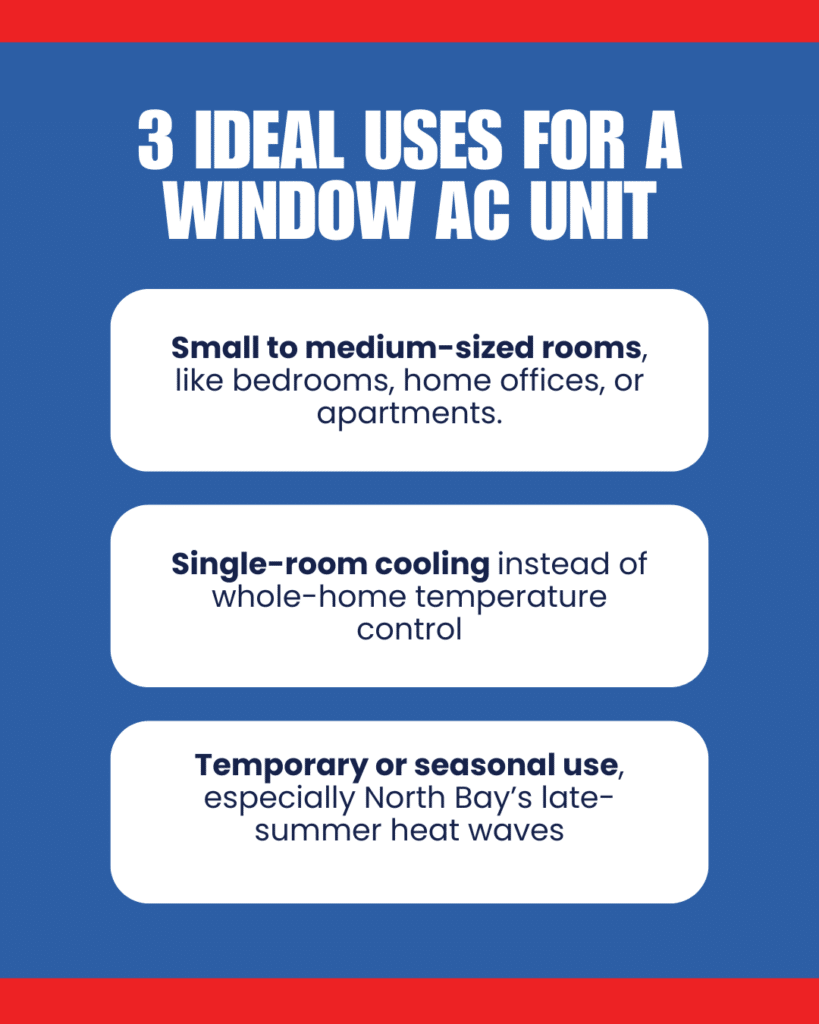
Before you buy or install a unit, make sure it’s the right choice for your cooling needs. Window air conditioners are best for:
- Small to medium-sized rooms, like bedrooms, home offices, or apartments
- Single-room cooling instead of whole-home temperature control
- Temporary or seasonal use, especially during North Bay’s late-summer heat waves
They’re not ideal for homes with poor insulation, large open floor plans, or spaces that require constant climate control. If that’s your situation, you may want to consider ductless mini-split installation instead.
What You’ll Need for Installation
Before you start the install, gather these essentials:
- Window AC unit
- Adjustable mounting brackets (usually included)
- Weather stripping or foam insulation
- Screwdriver or drill
- Level
- Tape measure
- Safety gloves
- A second person (recommended)
Installing a window AC is doable for most homeowners, but having a second set of hands makes the job safer—especially if you’re installing it on an upper floor or larger unit.
Step 1: Check the Window and Power Supply
Start by choosing a window that:
- Slides up and down (double-hung windows are best)
- Is near a dedicated power outlet that matches the unit’s voltage requirements
- Provides a tight, level fit to reduce vibration and air leaks
Measure the window’s width and height to make sure your AC unit fits properly. If your unit is too wide or too narrow, you risk damaging the frame or losing efficiency due to poor sealing.
Also, check that the outlet is grounded and capable of handling the electrical load. Window ACs typically require a 15-amp or 20-amp circuit, so avoid plugging in other high-power devices on the same line.
Step 2: Prepare the Window Opening
Open the window and clean the sill to remove any dirt, dust, or debris. Next, apply weather stripping or foam insulationalong the window frame to create a tighter seal once the unit is in place. This helps prevent warm air from getting in and keeps bugs and moisture out.
If your unit comes with mounting brackets, attach them to the windowsill according to the manufacturer’s instructions. These brackets help support the weight of the unit and reduce strain on the window sash over time.
Step 3: Install the Unit Safely
Now comes the most important part—placing the unit into the window. With the help of a second person, lift the AC and carefully set it into the opening, making sure the bottom flange rests on the sill and the unit is slightly tilted back to allow condensation to drain outside.
Lower the window sash down behind the top flange of the AC to secure it in place.
Use a level to make sure the unit is sitting evenly. Most models need to tilt back about 1/4 inch to ensure proper drainage. If it’s leaning too far forward or too much to one side, adjust it now before moving on.
Step 4: Seal and Secure the AC
With the unit installed, it’s time to seal the sides.
- Extend the accordion side panels to fill any open gaps in the window frame.
- Use screws (included with most models) to secure the panels to the frame, preventing them from slipping or flapping.
- Apply additional insulation or weatherproof tape around the edges if needed for a tighter seal.
Don’t forget to secure the upper sash with a window lock or L-bracket, especially if you’re in a multi-story home or have pets or children. This prevents the window from accidentally opening and ensures the unit stays firmly in place.
Step 5: Plug In and Test the Unit
Once everything is sealed and secured, plug in your AC unit and turn it on. Set the temperature and test all modes—cooling, fan speed, and any energy-saving settings. Make sure:
- Cold air is blowing into the room
- There’s no unusual noise or rattling
- Water is draining properly outside
Let the unit run for 15–20 minutes and monitor how it performs. If everything checks out, your installation is complete.
Troubleshooting Common Issues
If your window AC isn’t working as expected after installation, a few things could be to blame:
- No power? Double-check the circuit breaker and outlet.
- Warm air? Make sure the temperature setting is lower than the current room temp and that the mode is set to “cool.”
- Excess noise or vibration? The unit may be sitting unevenly or missing insulation around the edges.
- Leaking water indoors? It may not be tilted properly to allow outdoor drainage.
If you’ve tried these fixes and the issue persists, reach out to a professional HVAC technician from Same Day North Bay for a quick assessment.
Final Thoughts
Installing a window air conditioner is one of the fastest ways to cool down a single room—especially during North Bay’s hotter summer months. Whether you’re living in a small apartment or just need extra cooling power in one area of your home, window ACs are a cost-effective, flexible solution.
That said, proper installation is critical to performance, efficiency, and safety. A poorly installed unit can waste energy, cause leaks, or even become a hazard. Take the time to measure carefully, seal every edge, and secure the window—and always ask for help if the unit is heavy or awkward to lift.
If you’re not sure a window AC is the right fit, or if you’re ready to explore more efficient, whole-home options, the experts at Same Day North Bay Heating, Cooling, and Plumbing are here to help. From ductless mini-splits to professional maintenance and repair, Same Day North Bay has the cooling solutions you need to stay comfortable, no matter how hot it gets.